How to Install Rocket LMS
First, log in to the CRM and register your license using the item purchase code after that get the license from Rocketsoft. It is necessary for installation.
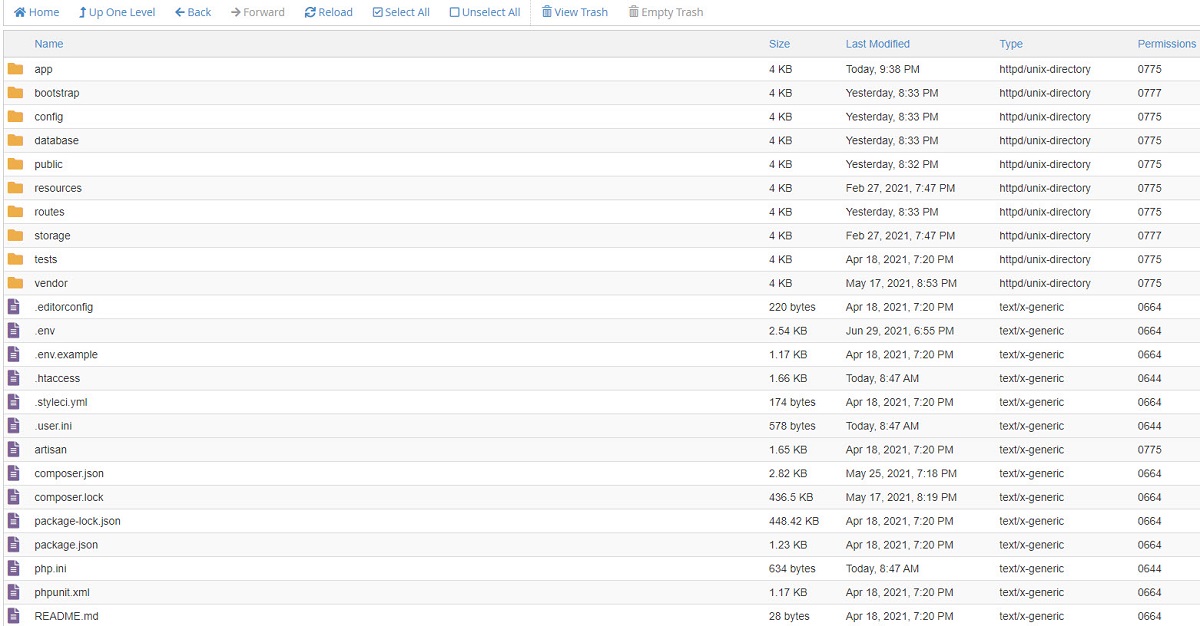
To install Rocket LMS upload the “source.zip” file to the public_html folder of the hosting and extract it so the public_html folder should contain the following files and folder.
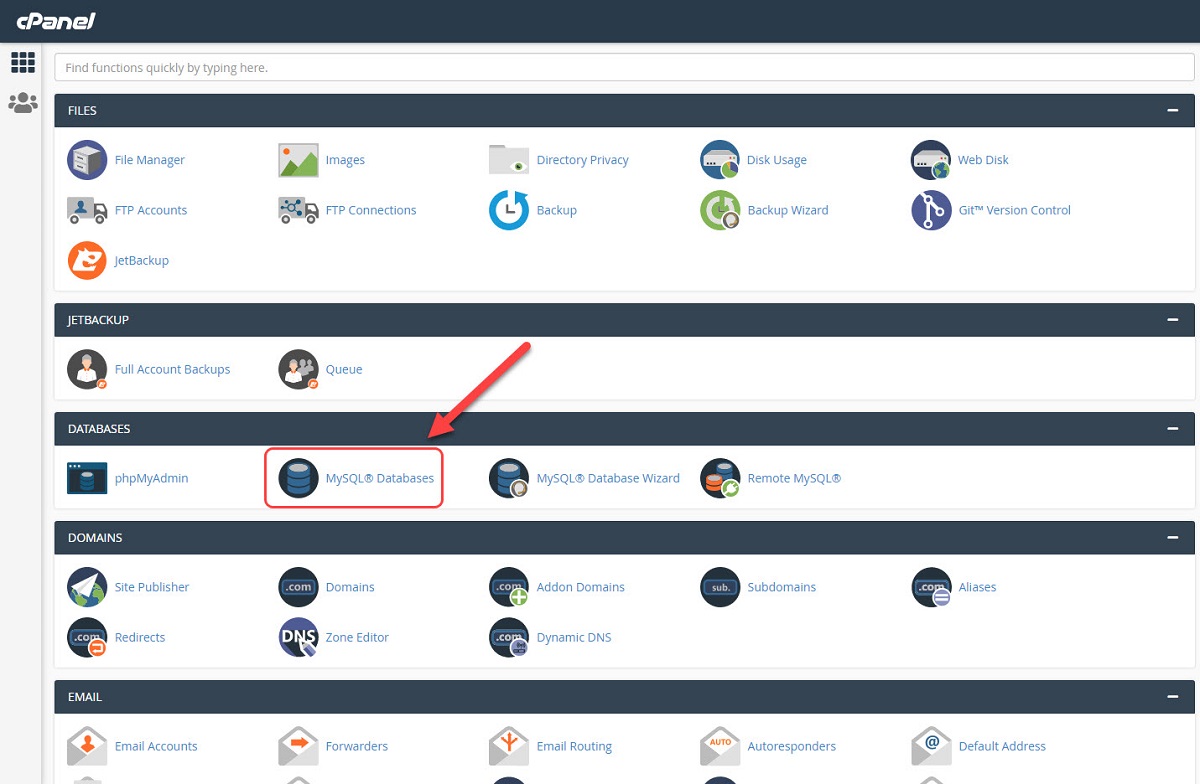
 Go to your hosting control panel and create a database and user. You can see the process on cPanel in the following images:
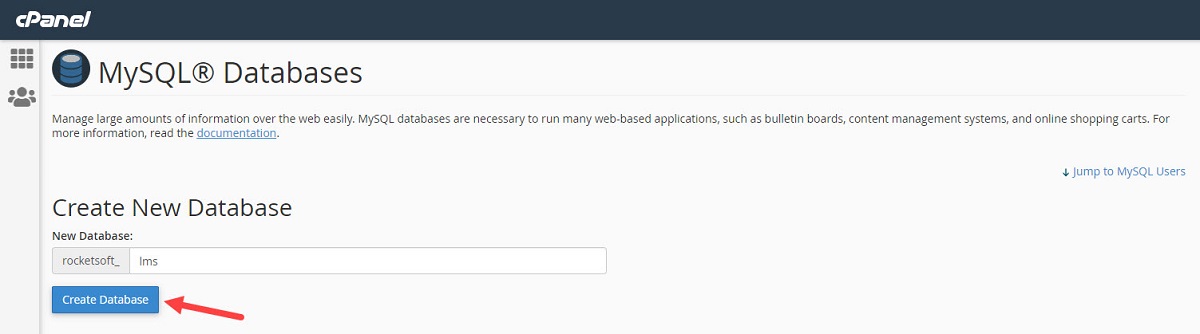
 Go to “MySQL Databases” and create a database according to the following screenshot:
 After that create a MySQL user on the same page and keep the password.
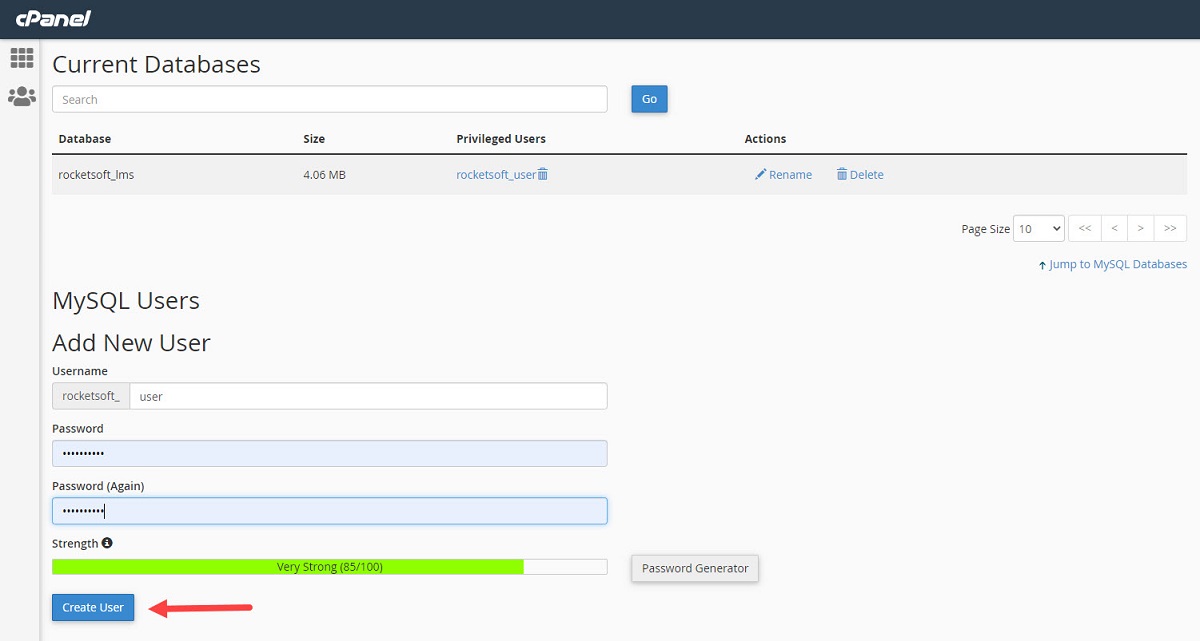 Now you should assign the user to the create database. Select the created database and the related user and click on the “Add” button. This process might be done automatically on some control panels such as “Direct Admin”.
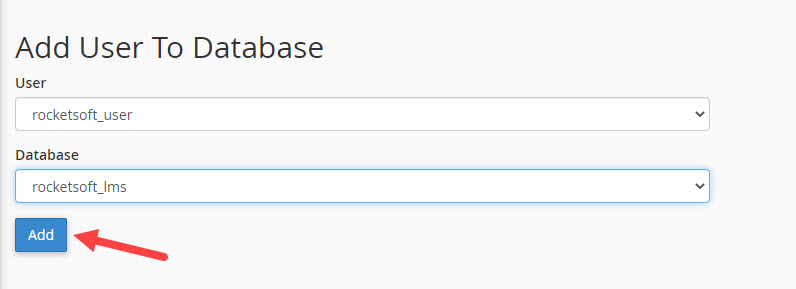 Now you should have 3 parameters: Database Name, Database Username, Database Password
Go to phpMyAdmin and select the created database from the side menu and click on the “Import” tab.
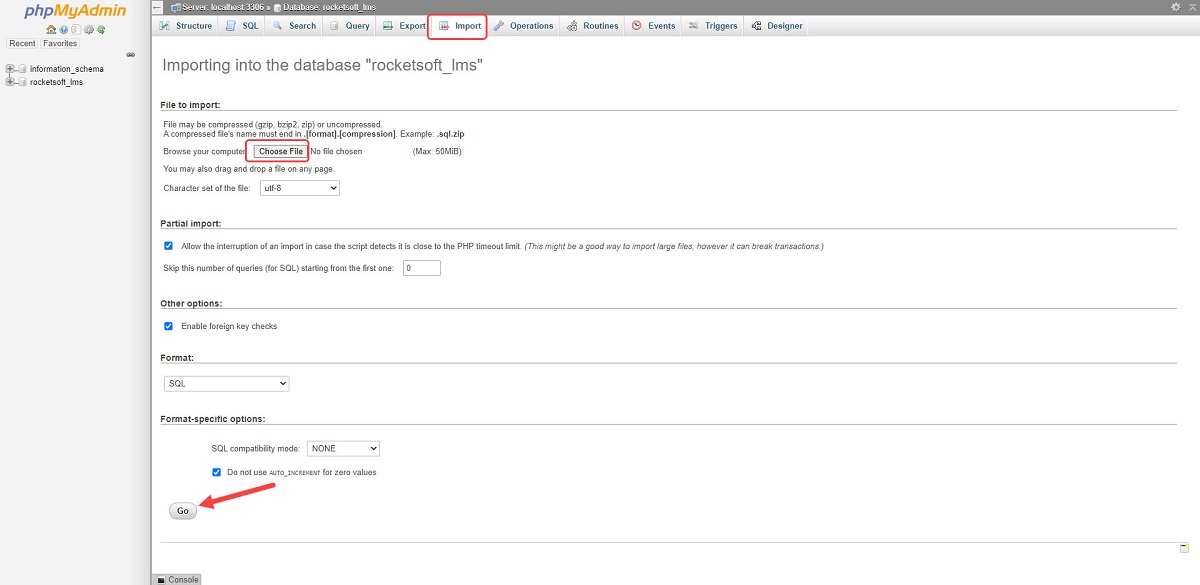 Note: You should use the “demo-db.sql” file if you want to have a website like the demo version with complete data and if you want to have a website without demo content use the “empty-db.sql” file. It contains just the necessary data.
Go to the cPanel file manager and navigate to the public_html folder. Edit the “.env” file and put the database information according to the following screenshot and save changes.
 Now insert your website URL and enjoy.
You can request the free installation service from our CRM. We will install it for you as soon as possible.
Note: Make sure the SMTP information is defined properly (How to?). This is a super important step to prevent errors.